eScheduler
 Work Order Allocation
Work Order Allocation
Work Order Allocation
A user can view the Work Order list on the left side of the page. The list appears in a grid along with few details like Customer name, model number, priority, promise date, Components, Job code, Start Date, end Date etc.
Following screen display the work order list
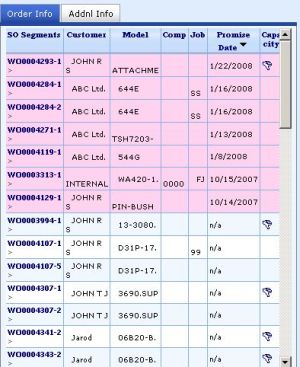
Work order with Details in first tab
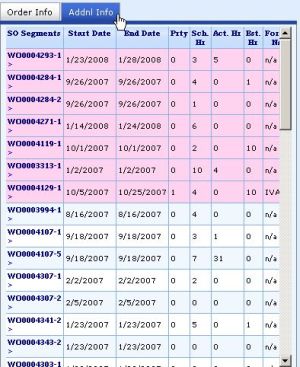
Work order with Details in second tab
Work Order Selection
In order to assign work to a technician user must select work order from the list appearing on the left side of the screen.
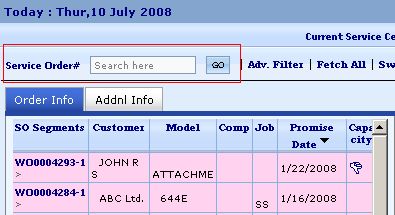
If the work order doesn't appear in the list user can quickly search using the quick search option above the grid.
Please refer following figure
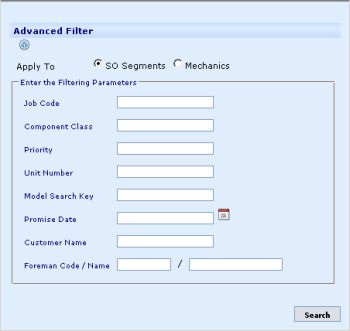
Also user may use the 'Advance Search' option if he needs more precise data.
Please refer following figure
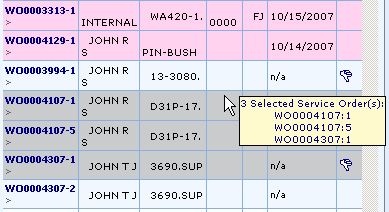
Once the work order appears in the list user can select the work order by clicking the work order name.
User can selected more than one work order at a time.
After selecting work order(s) a list of selected work order gets attached to the mouse pointer.
Following figure shows the selection of work order
Once the work order selection is final, user can click the cell for a particular date in the allocation matrix for desired technician.
This opens another allocation screen where user needs to input the time for the each of the selected work order.
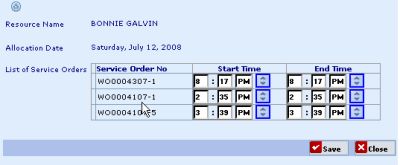
On entering the start time and end time for each order the allocation gets completed and the Weekly view gets updated.